A new controller
In the previous part, a model was created and used to pass data from the controller to the view.
In the following parts, we will create a fictional product list to demonstrate how models can be used for this list, and also for the individual products.
The product list will be accessible via the url http://localhost/products/. For this, a new controller will be created by extending The BlueMvc Controller base class.
Create the controller
Create a new file ProductsController.php in the directory Application/Controllers/ with the following content:
<?php

declare(strict_types=1);

namespace Application\Controllers;

use BlueMvc\Core\Controller;
use BlueMvc\Core\View;

class ProductsController extends Controller
{
    public function indexAction(): View
    {
        $this->setViewItem('Title', 'Products');

        return new View();
    }
}
The indexAction is a special action method that will be invoked when the path is a directory, e.g. http://localhost/ or http://localhost/foo/.
Because a View is returned, we also need to create the corresponding view file.
Create the view
Create the directory Application/Views/Products/ and in that directory, add the file index.twig with the following content:
{% extends "sitelayout.twig" %}
{% block content %}

<h1>Products</h1>

{% endblock %}
Add a route
To use the new controller, a route must be added.
Open the Application/Setup/ApplicationSetup.php file and modify the content to look like this:
<?php

declare(strict_types=1);

namespace Application\Setup;

use Application\Controllers\IndexController;
use Application\Controllers\ProductsController;
use BlueMvc\Core\Interfaces\ApplicationInterface;
use BlueMvc\Core\Route;
use BlueMvc\Twig\TwigViewRenderer;
use DataTypes\System\FilePath;

/**
 * The application setup.
 */
class ApplicationSetup
{
    /**
     * Sets up the application.
     *
     * @param ApplicationInterface $application The application.
     */
    public static function setup(ApplicationInterface $application): void
    {
        // Set up view handling.
        $application->addViewRenderer(new TwigViewRenderer());
        $application->setViewPath(FilePath::parseAsDirectory('../Application/Views'));

        // Set up routes.
        $application->addRoute(new Route('', IndexController::class));
        $application->addRoute(new Route('products', ProductsController::class));
    }
}
A Route maps a path of the url to a controller. In this case, we told the application to let the new ProductsController handle requests for everything in the /products/ path.
Since the first parameter to the Route constructor is a path by definition, any leading or trailing slashes should be omitted.
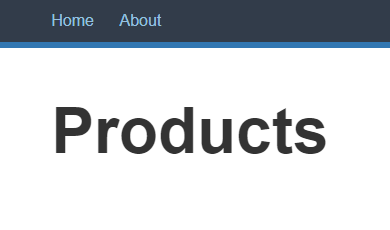
Check the result
Open the url http://localhost/products/ and check the result:
Add to menu bar
Let's also add a link in the menu bar.
Open Application/Views/sitelayout.twig and add the "Products"-link:
<div class="menu">
    <ul>
        <li><a href="/">Home</a></li>
        <li><a href="/about">About</a></li>
        <li><a href="/products/">Products</a></li>
    </ul>
</div>
Reload the http://localhost/products/ page:
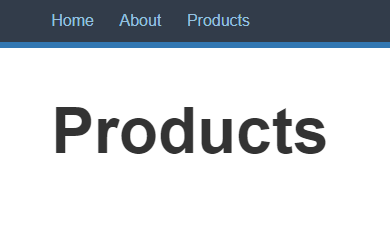
Nice!
In the next part, we will add some content to the product list.
✎ Published in category get started
