Create a form
It's time to leave the product pages for a while. Instead, we are going to take a look at how the bluemvc-forms package can be useful when working with forms.
In this example, a simple form with a text field will be created. In the text field, the user can enter his or her name. On submitting the form, the page will greet the user with a "Hello" followed by the name.
Create the form page
Let's create a new page for the form.
Open Application/Controllers/IndexController.php and add the helloAction method:
/**
 * The index controller class.
 */
class IndexController extends Controller
{
    /**
     * The index action.
     *
     * @return View The view for this action.
     */
    public function indexAction(): View
    {
        $this->setViewItem('Title', 'My website');

        return new View();
    }

    public function aboutAction(): View
    {
        $model = ['Name' => 'John Doe', 'Email' => 'info@example.com', 'Year' => 2018];

        $this->setViewItem('Title', 'About this website');

        return new View($model);
    }

    public function helloAction(): View
    {
        $name = 'Unknown';

        $this->setViewItem('Title', 'Hello!');

        return new View(['Name' => $name]);
    }
}
Create a new file hello.twig in the directory Application/Views/Index/ with the following content:
{% extends "sitelayout.twig" %}
{% block content %}

<h1>Hello, {{ Model.Name }}</h1>

{% endblock %}
Open Application/Views/sitelayout.twig and add the "Hello"-link:
<div class="menu">
    <ul>
        <li><a href="/">Home</a></li>
        <li><a href="/about">About</a></li>
        <li><a href="/products/">Products</a></li>
        <li><a href="/hello">Hello</a></li>
    </ul>
</div>
Check the result
Open the url http://localhost/hello and check the result:

No surprises here! So far we have just created a new ordinary page.
Let's create the form!
Create the directory Application/Forms/ and in that directory, add the file HelloForm.php with the following content:
<?php

declare(strict_types=1);

namespace Application\Forms;

use BlueMvc\Forms\PostForm;
use BlueMvc\Forms\TextField;

class HelloForm extends PostForm
{
    public TextField $NameField;

    public function __construct()
    {
        $this->NameField = new TextField('name');
    }
}
This class declares our form with one text field. The form should now be created in the controller and be sent to the view to be displayed.
Open Application/Controllers/IndexController.php and modify the content to look like this:
<?php

declare(strict_types=1);

namespace Application\Controllers;

use Application\Forms\HelloForm;
use BlueMvc\Core\Controller;
use BlueMvc\Core\View;

/**
 * The index controller class.
 */
class IndexController extends Controller
{
    /**
     * The index action.
     *
     * @return View The view for this action.
     */
    public function indexAction(): View
    {
        $this->setViewItem('Title', 'My website');

        return new View();
    }

    public function aboutAction(): View
    {
        $model = ['Name' => 'John Doe', 'Email' => 'info@example.com', 'Year' => 2018];

        $this->setViewItem('Title', 'About this website');

        return new View($model);
    }

    public function helloAction(): View
    {
        $name = 'Unknown';
        $form = new HelloForm();

        $this->setViewItem('Title', 'Hello!');

        return new View(['Name' => $name, 'Form' => $form]);
    }
}
Open Application/Views/Index/hello.twig and add the HTML for the form:
{% extends "sitelayout.twig" %}
{% block content %}

<h1>Hello, {{ Model.Name }}</h1>

<form method="post" action="/hello">

    <p>
        <label>Enter your name</label>
        {{ Model.Form.NameField | raw }}
    </p>

    <p>
        <input type="submit" value="Say hello">
    </p>

</form>

{% endblock %}
Since the forms NameField property outputs HTML-code, it should not be encoded by Twig. The raw filter prevents this.
Check the result
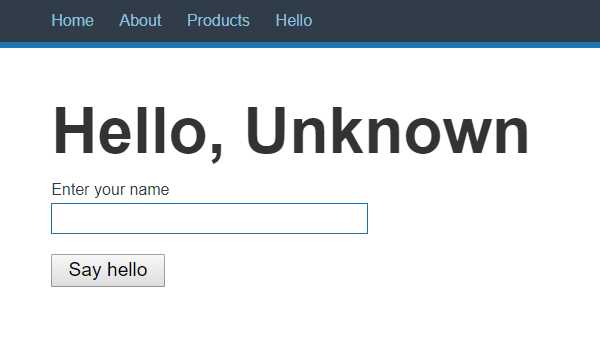
Reload the http://localhost/hello page:

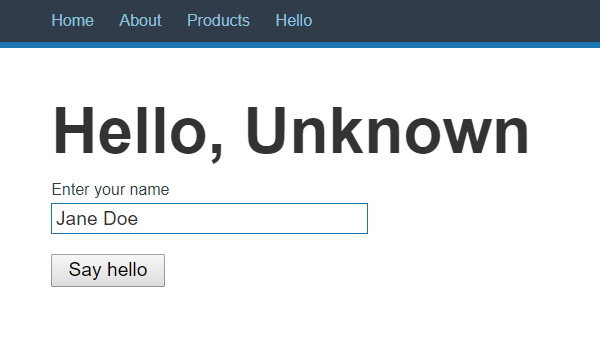
Let's try the form. Enter a name in the text field...

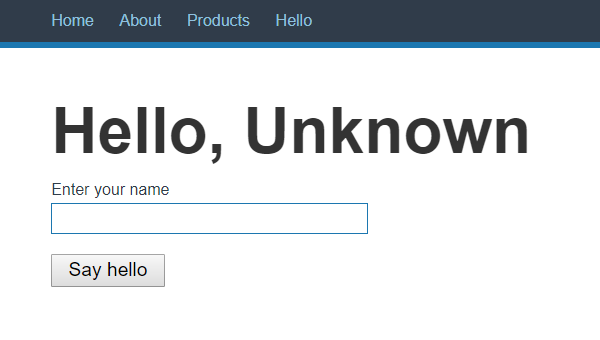
...and click on the Say hello button:

Well, that did not have any effect. ¯\_(ツ)_/¯
If fact, we haven't yet told the form what should happen when the form is submitted. This, and some input validation, will be done in the next part.
✎ Published in category get started
